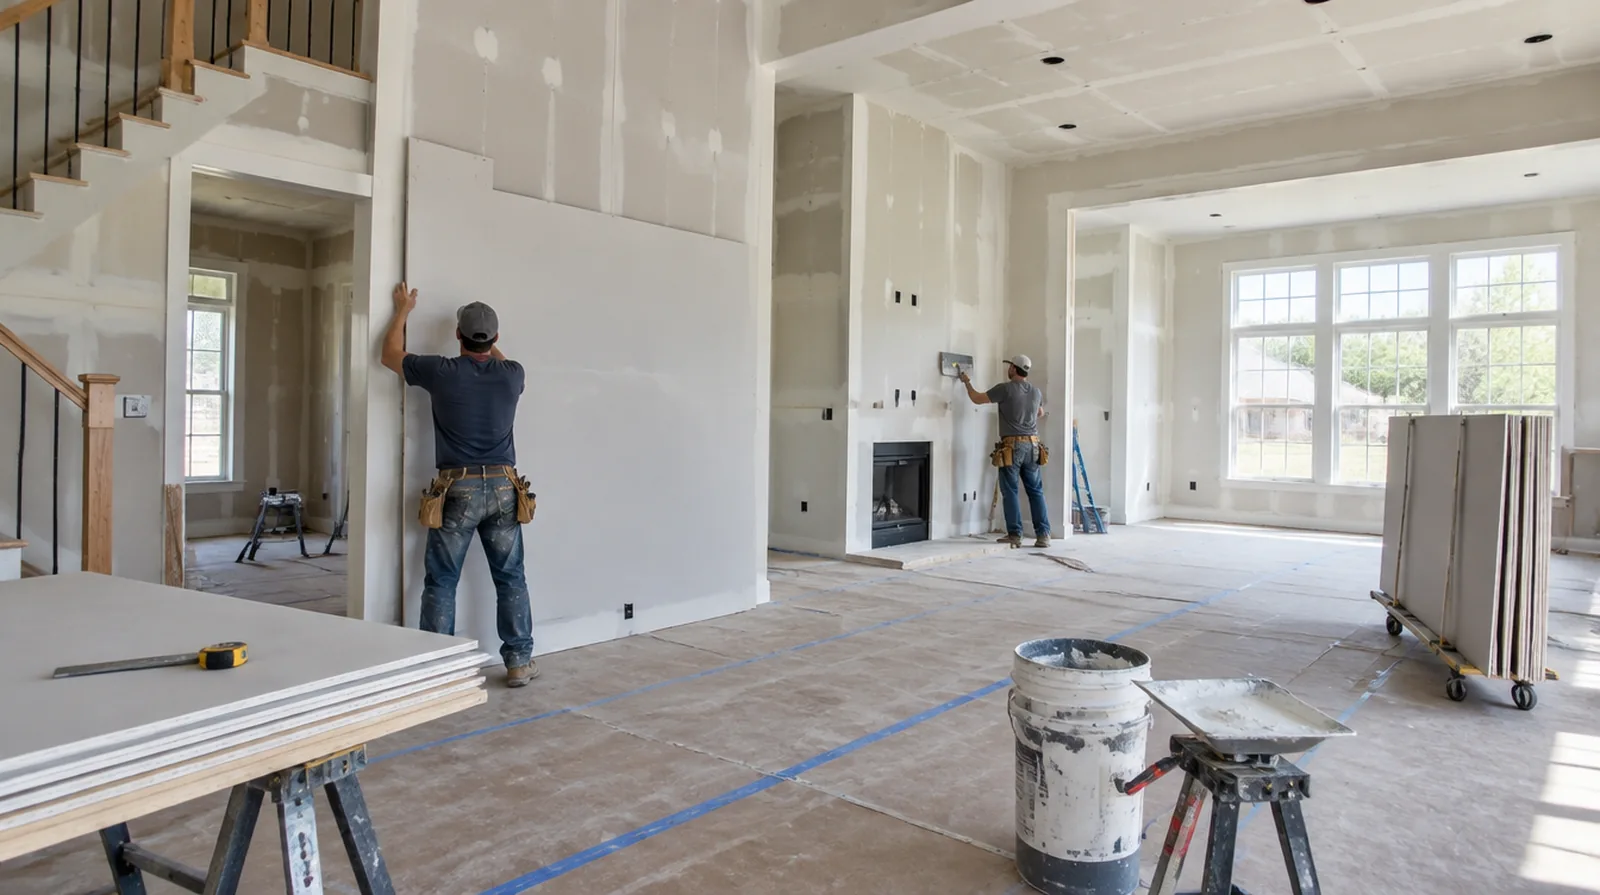
Confirm concealed work
Wiring, plumbing and insulation inspections might have to happen before the cavity is closed. A readiness record and useful photographs can reduce avoidable demolition through the new installation. If access passes through a shared space, arrange protection and a delivery route that do not unnecessarily obstruct other occupants.
Fit corners and openings
Door returns and exposed corners require a straight consistent edge before the final compound coats are applied. Select the exposed edge profile for the design and the level of contact it will receive. For a project involving a building manager, confirm access hours and protection requirements before promising a start date or a short completion window.
Inspect supporting framing
An uneven support plane can remain apparent after new gypsum panels are attached. Deal with significant framing irregularities while the structure is exposed, before the boards conceal it. For a distinctive existing pattern, retain a reference sample or detailed picture to make the matching discussion more specific.
Lay out the joints
Arrange supported sheet edges and joint positions with the openings and final finish in mind. A sensible panel pattern makes both the fastening stage and the later joint treatment more straightforward. When a wall has repeated defects, keep a record of earlier repair attempts so a new assessment does not simply repeat an unsuccessful approach.
Measure the complete assembly
Calculate the board layout from all the surfaces and openings rather than the interior floor area alone. A measured layout helps reduce narrow infill strips and unneeded joints around doors. When reviewing the finished work, use the agreed lighting and natural room viewpoints so the assessment reflects the intended use of the space.
Sequence the finishing work
Joint treatment needs suitable indoor conditions and time between coats rather than a rushed pass over damp material. Coordinate room ventilation and entry while the other parts of the renovation continue. When the decorative coating has been selected, tell the finisher its intended sheen and color while the surface preparation standard is still being agreed.
Treat perimeter details
Gaps and junctions at floors, ceilings and adjacent materials need details that suit the specified assembly. The relevant fire or acoustic assembly may specify particular perimeter seals and treatments. Where the wall surface meets fixed furniture, clarify whether removal is included or whether the finish will terminate at the accessible edge.
Plan deliveries and access
Sheet dimensions have to suit the available stairs, doors and handling space as well as the finished wall. Allow for stairs, tight turns and storage when assessing material movement and installation labor. At a surface receiving strong window light, review a dried trial from the side in addition to the normal straight view of the wall surface.
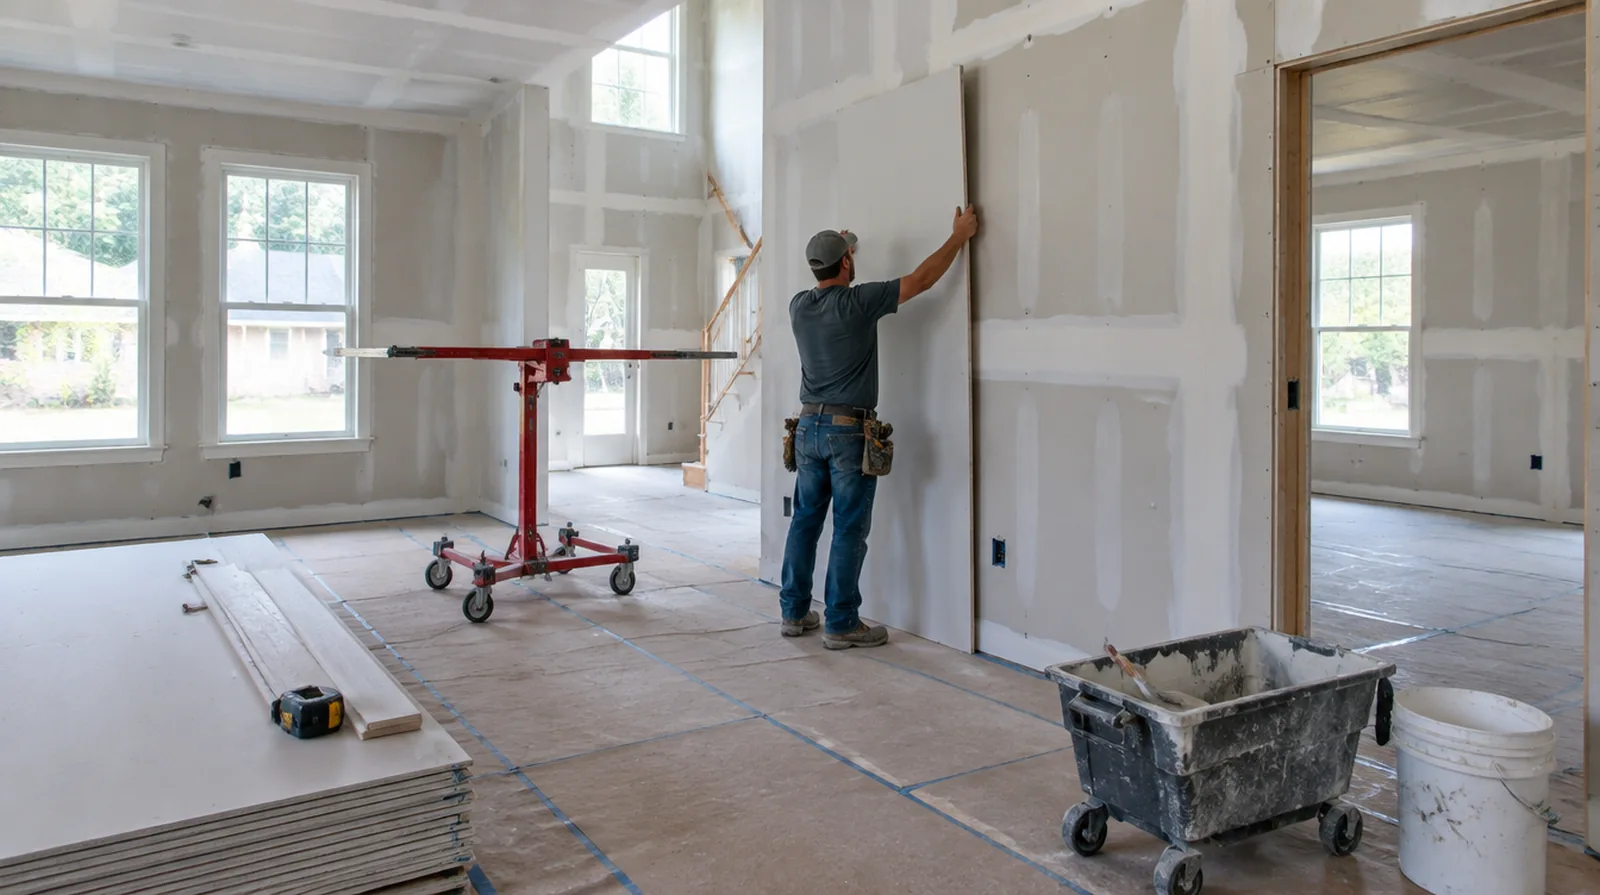
Select appropriate panels
Choose sheet thickness and panel properties to suit the specified assembly and the intended location. A board described as moisture resistant does not replace waterproofing where the wet area detail requires it. When the decorative coating has been selected, tell the finisher its intended sheen and color while the surface preparation standard is still being agreed.
Control fastening depth
Proper fastening holds the gypsum securely while leaving its face paper intact. Repair overdriven fixings or inadequate edge support rather than expecting finishing coats to conceal those defects. Where a surface has been painted many times, consider whether differences in texture or sheen will require a wider decorative treatment.
Project context in Hoover
High windows in Hoover family rooms throw raking light across big walls, which shows small ridges in a finished joint. Some older homes near Bluff Park have heavier hand textures that take a test patch to match well.
Scope questions before finishing
For a tightly furnished room, plan temporary storage and the minimum working clearance before material is carried into the property.
For a limited patch requiring substantial setup, assess the complete package of access and protection instead of relating cost only to the opening size.
When concealed damage is possible, establish how additional findings and any proposed removal will be recorded before the scope changes.
For work spread across different planes, record their dimensions separately and describe the boundary of the treatment on each surface.
When comparing competing estimates, make sure their protection, surface finish and disposal allowances describe equivalent work before comparing the final prices.
When a quote includes multiple visits, ask what happens during each stage and when the room needs to remain undisturbed between coats.
Where existing floors will remain, specify protective measures and review the path used by panels, equipment and finishing tools.
For a surface carrying numerous paint layers, discuss whether differences in the retained profile or sheen justify decorating a broader area.
At a repair beside an opening, allow clearance for moving board through the doorway and space to use the finishing tools effectively.
If the current finish is unusual, keep a small reference sample or a close photograph to support the discussion about blending and restoration.
For walls beside bright windows, review a dry sample from an oblique angle as well as looking straight at the repaired surface.
For a distinctive existing pattern, retain a reference sample or detailed picture to make the matching discussion more specific.
Explore the Hoover drywall overview for related options, or read the project planning information before arranging the next stage.
More planning details for Hoover
Painting the full wall after a foyer repair gives a more even result than spotting the patch alone. Agree on how the finished wall should look from the front door and the stairs before the final coat goes on. HOA communities in Hoover may limit contractor parking or working hours, so check the rules early.