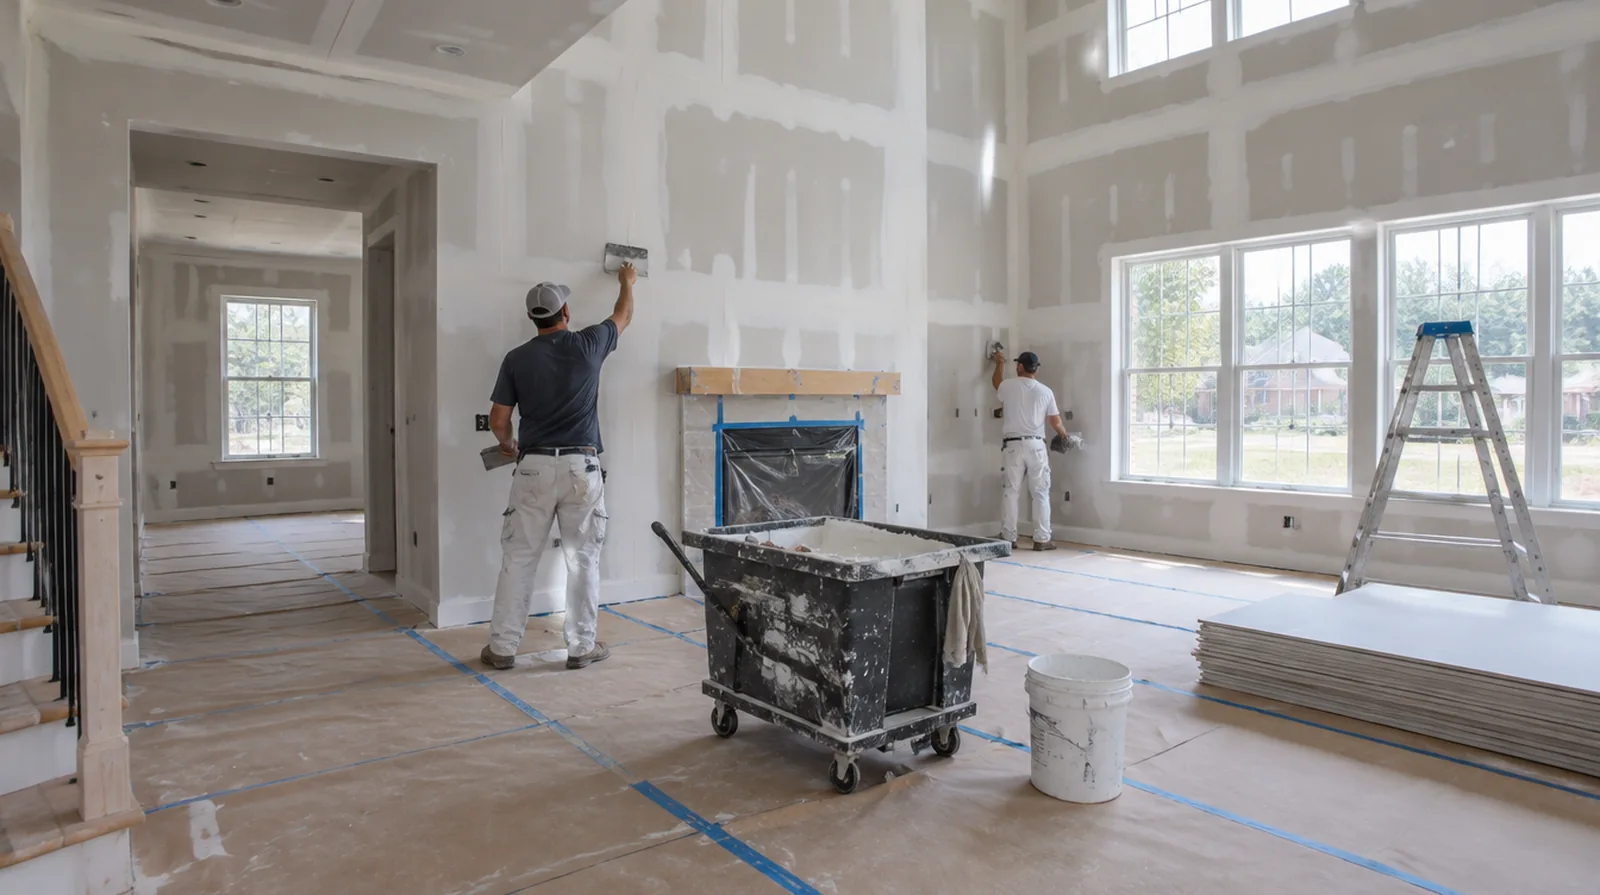
Assess the hung board
Finishing cannot fully correct unsupported edges or panels that sit on distinct planes. Check how the sheets sit and how the fixings hold them instead of beginning with compound immediately. If the wall work belongs to a broader renovation, coordinate its order with flooring, cabinetry and trim instead of scheduling finishing in isolation.
Allow genuine drying time
Do not judge a coat ready solely because its outer face appears firm. The drying interval changes with indoor humidity, temperature and the available movement of air. At the handover inspection, review the finish from ordinary room positions using the lighting conditions that were agreed for the work.
Inspect the whole wall
Checking only the joint lines misses transitions near corners, ceiling edges and electrical boxes. Use the intended room lighting where practical and include an oblique view across the plane. When reviewing the finished work, use the agreed lighting and natural room viewpoints so the assessment reflects the intended use of the space.
Coordinate with the painter
A primer coat sometimes makes small surface defects easier to identify than raw white compound. Establish responsibility for those final adjustments and any review after priming before the work starts. If the completion date matters most, allow for intervals between coats as well as active labor rather than assuming the entire process happens continuously.
Use controlled sanding
Sanding should refine small tool marks instead of grind away a badly shaped joint. Dust management remains necessary even when only a limited number of seams are being finished. For a repair that crosses several surfaces, measure the affected planes separately so the estimate can explain where each finishing treatment starts and stops.
Consider a skim layer
Broad grazing light can reveal a difference in texture between the paper face and finished joints. A suitable skim treatment can help create a more uniform surface when the specification calls for it. If the finish paint is already chosen, share its sheen and color early because those choices influence how preparation of the surface is judged.
Keep external corners straight
Corner bead provides a consistent line but needs secure installation and sufficient compound coverage. Resolve distortion or damage to the bead before successive coats make correction more difficult. When the decorative coating has been selected, tell the finisher its intended sheen and color while the surface preparation standard is still being agreed.
Choose joint materials
Joint bedding and the last surface coats do not necessarily call for identical products. Choose compatible compounds with regard to their intended purpose, the space and the relevant product instructions. If the completion date matters most, allow for intervals between coats as well as active labor instead of assuming the entire process happens continuously.
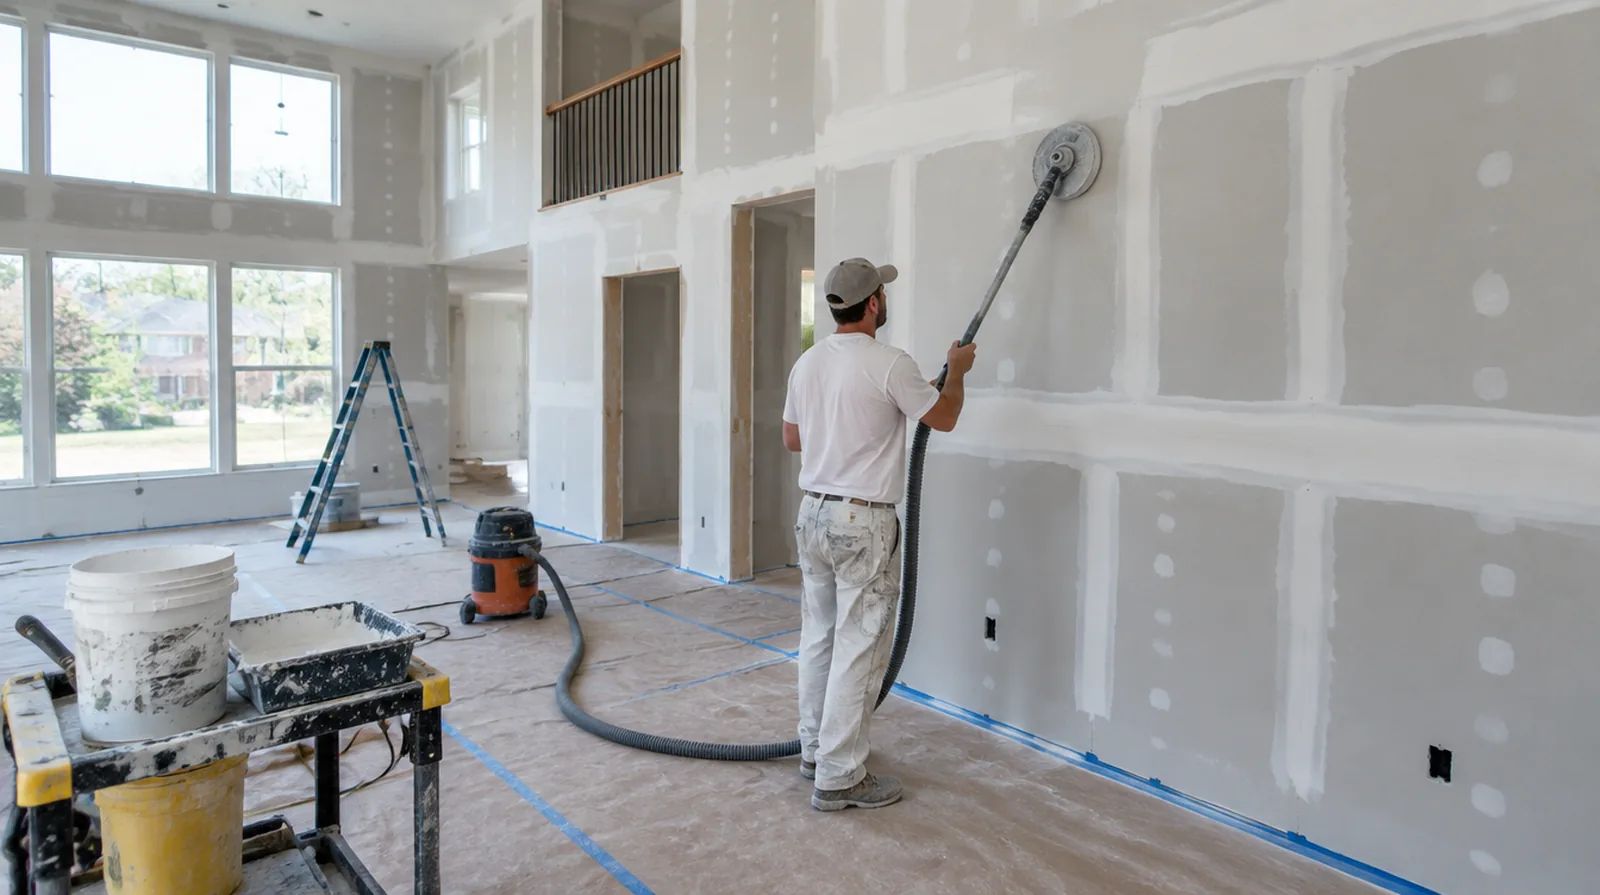
Agree on the visual standard
Agree how the completed wall will be viewed and decorated before choosing the finishing standard. A stated finish level helps both the drywall trade and the decorating trade work toward the same result. At an edge beside built in furniture, state whether the obstruction will be removed or whether finishing stops at the section that can be reached.
Build the seam gradually
Make later joint coats progressively broader so the transition becomes less abrupt. Butt joints usually need a broader blend because they lack the recessed edges of factory seams. For an initial assessment from pictures, provide an overall room photograph and a detailed view of the defect so both context and scale are apparent.
Project context in Hoover
Bonus rooms over garages see wide temperature swings, which can crack seams where the knee wall meets the slope. Agree on how the finished wall should look from the front door and the stairs before the final coat goes on.
Scope questions before finishing
Before comparing two proposals, check that both include the same protection, finishing and cleanup boundaries instead of comparing totals alone.
If materials must cross common building areas, plan the protection and access route so other occupants are not needlessly obstructed by deliveries.
If a room has only limited ventilation, discuss how the finishing materials can dry without disrupting comfort or spreading dust elsewhere.
Where flooring is staying in place, agree on protective coverings and check that tools and material handling will not damage the visible finish.
At a surface receiving strong window light, review a dried trial from the side in addition to the normal straight view of the wall.
For an older repair with no clear history, describe when the mark first appeared and whether it has changed through more than one season.
For a wall receiving a decorative covering, provide its preparation requirements early sufficient for the drywall finish to support that product.
If the surface condition is uncertain, allow for an assessment that can distinguish stable material from layers that should never be covered.
Where a surface has been painted many times, consider whether differences in texture or sheen will require a wider decorative treatment.
When a quote includes multiple visits, ask what happens during each stage and when the interior needs to remain undisturbed between coats.
For a room with restricted airflow, plan drying conditions alongside dust protection and the comfort of people occupying neighboring spaces.
At a ceiling or wall containing fittings, assign removal and reinstatement duties for the affected devices before repair access is needed.
Explore the Hoover drywall overview for related options, or read the project planning information before arranging the next stage.
More planning details for Hoover
Steep driveways on Hoover hillsides can make unloading board harder, so pick a staging spot before delivery. Painting the full wall after a foyer repair gives a more even result than spotting the patch alone. Hoover foyers often rise two stories, so repairs on those walls need scaffolding that protects the stair treads and rails.