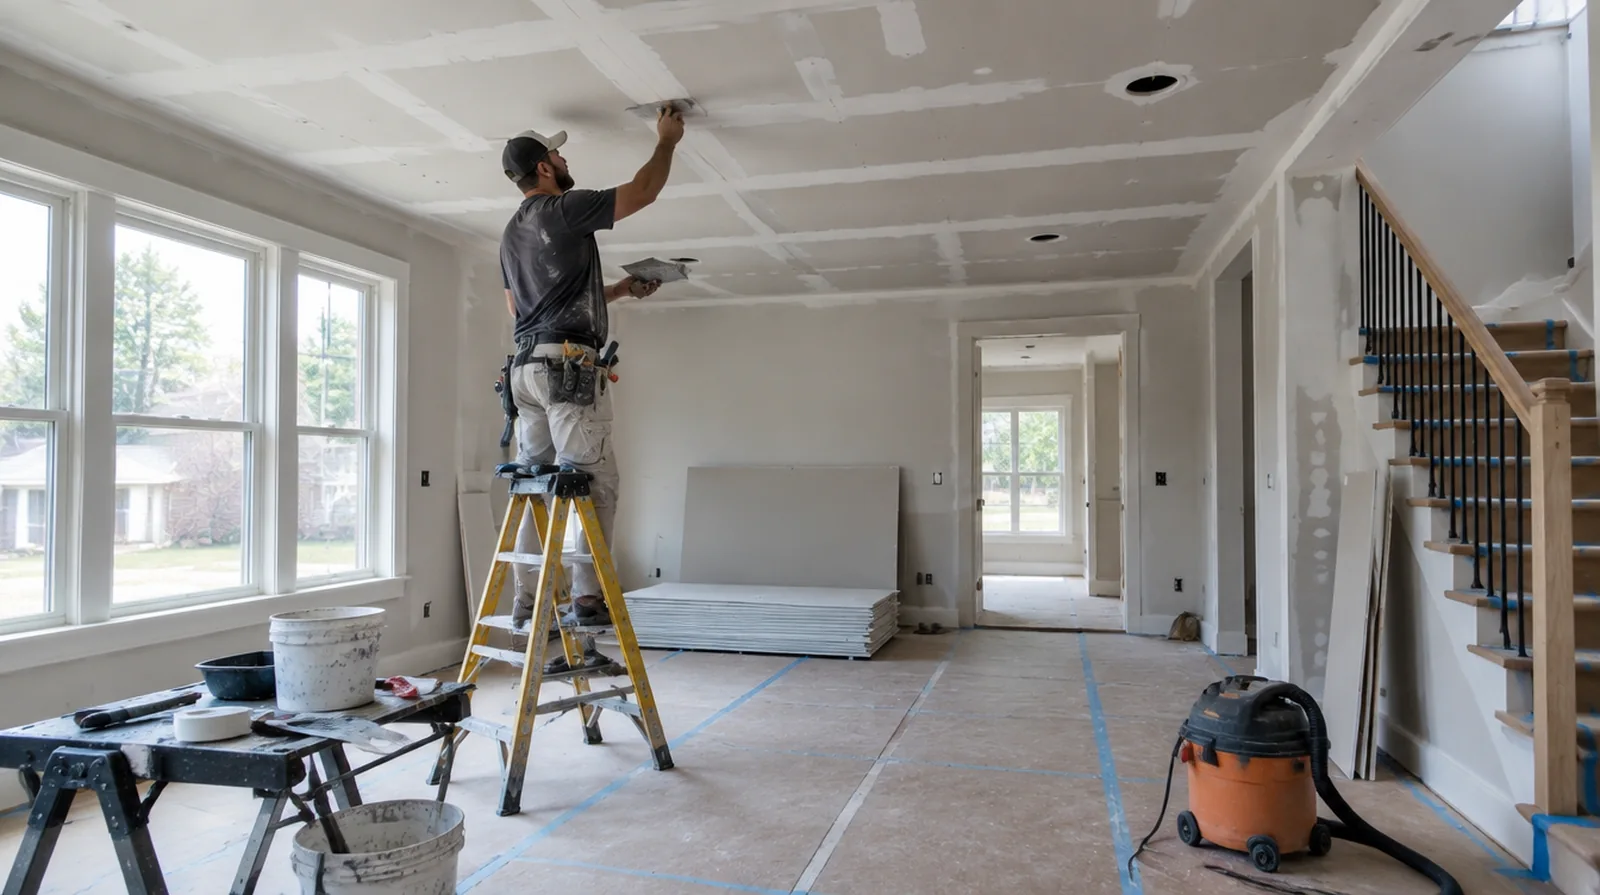
Separate fixtures from board work
Handling lights, sprinkler fittings and air grilles may require appropriate trades and building coordination. Clarify who disconnects and reinstalls anything that interferes with access to the damaged area. For a tightly furnished room, plan temporary storage and the minimum working clearance before material is carried into the property.
Add reliable backing
A ceiling patch needs fastening support on its edges rather than relying on compound to carry its weight. Fit compatible board thickness so the old and new faces meet without an unneeded step. If materials must cross common building areas, plan the protection and access route so other occupants are not needlessly obstructed by deliveries.
Plan overhead access
Plan suitable overhead working access around the room height and its contents. Large fixtures and delicate flooring may influence setup time more than the size of the damaged spot. At an edge beside built in furniture, state whether the obstruction will be removed or whether finishing stops at the section that can be reached.
Set the repainting scope
A small fresh white patch can stand out against an older ceiling even when the surface is level. Painting to a natural boundary may be preferable to touching up only the repair. If the proposal requires return visits, identify the purpose of each stage and the intervals during which finishing material needs to remain undisturbed.
Review the room after drying
Once the coats are dry, view the ceiling from normal room positions and near its principal windows. Record any remaining paint preparation before the protection comes down and the interior returns to use. When a wall has repeated defects, keep a record of earlier repair attempts so a new assessment does not simply repeat an unsuccessful approach.
Check the source of damage
A ceiling stain or soft area may be caused by plumbing or another moisture source above the space. Resolve the source of moisture before relying on a decorative ceiling repair to remain sound. If scheduling is the main concern, separate hands on labor from drying intervals instead of treating every visit as a full day of active work.
Address isolated stains
A dry repaired ceiling may still need a compatible stain blocking primer before decorative paint. Primer selection depends on the remaining discoloration and ought not to be used to conceal active moisture. When building management controls access, agree delivery hours and common area protection before committing to a start or finish date.
Evaluate sagging sections
A drooping panel requires an assessment of fastening, support and material condition rather than a surface skim alone. Avoid using the area beneath a potentially unstable section until it has been evaluated appropriately. For a tightly furnished room, plan temporary storage and the minimum working clearance before material is carried into the property.
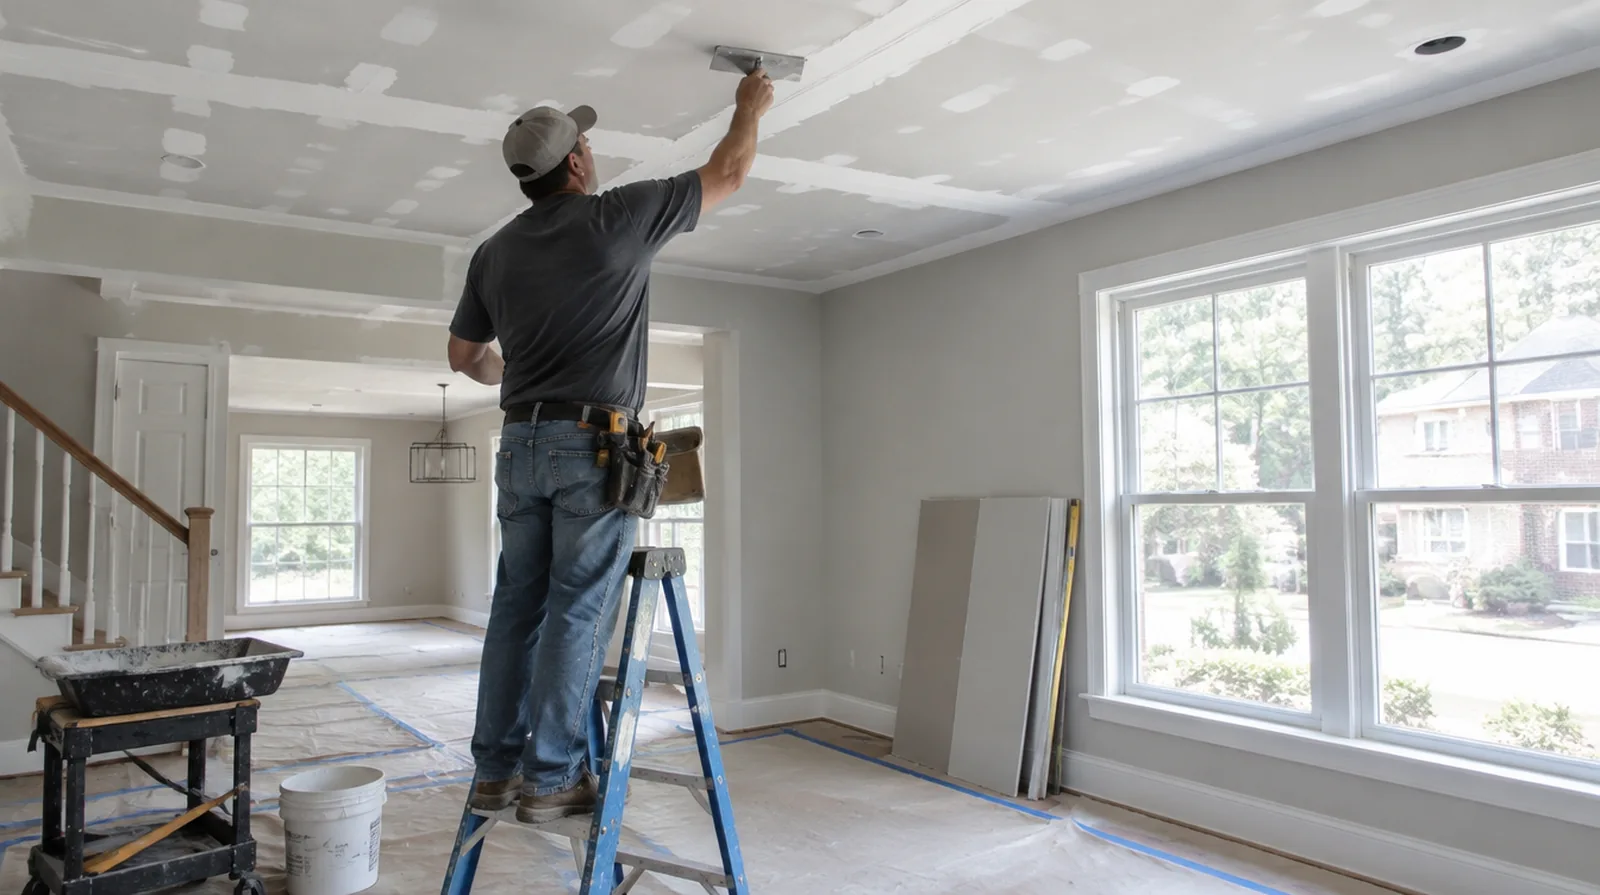
Cut back to sound material
A reliable replacement cannot depend on board that has lost strength through water exposure. The removal boundary should reach stable material and allow the replacement to be properly supported. If an independent painter completes decoration, agree the condition of the handed over surface and assign responsibility for small final corrections.
Discuss texture expectations
A smooth ceiling and a textured ceiling need differing finishing plans around the repaired section. A representative sample makes it easier to judge whether the original pattern can be blended locally. If the surface condition is uncertain, allow for an assessment that can distinguish stable material from layers that should never be covered.
Project context in Hoover
Painting the full wall after a foyer repair gives a more even result than spotting the patch alone. Humid Alabama summers slow drying, and keeping the air conditioning running between coats usually helps.
Scope questions before finishing
Where a finished perimeter is prominent, decide whether trim stays in position or is removed before agreeing how the new surface meets that edge.
If the wall surface work belongs to a broader renovation, coordinate its order with flooring, cabinetry and trim rather than scheduling finishing in isolation.
When a quote includes multiple visits, ask what happens during each stage and when the interior needs to remain undisturbed between coats.
When concealed damage is possible, establish how additional findings and any proposed removal will be recorded before the scope changes.
When photographs are used for an initial discussion, include a wide room view as well as a close view so scale and surrounding finishes are understandable.
When a wall has repeated defects, keep a record of earlier repair attempts so a new assessment does not simply repeat an unsuccessful approach.
Where several contractors share the renovation, identify the inspection and handover milestones that determine when each following stage can proceed.
At an edge beside built in furniture, state whether the obstruction will be removed or whether finishing stops at the section that can be reached.
In a room with little free floor space, identify temporary storage for belongings and establish adequate clearance for the work before delivery.
Where the quoted work stops before painting, request a clear description of what remains so the next decorating stage can be priced realistically.
For a limited patch requiring substantial setup, assess the complete package of access and protection instead of relating cost only to the opening size.
For a room with restricted airflow, plan drying conditions alongside dust protection and the comfort of people occupying neighboring spaces.
Explore the Hoover drywall overview for related options, or read the project planning information before arranging the next stage.
More planning details for Hoover
Steep driveways on Hoover hillsides can make unloading board harder, so pick a staging spot before delivery. Hoover foyers often rise two stories, so repairs on those walls need scaffolding that protects the stair treads and rails. High windows in Hoover family rooms throw raking light across big walls, which shows small ridges in a finished joint.